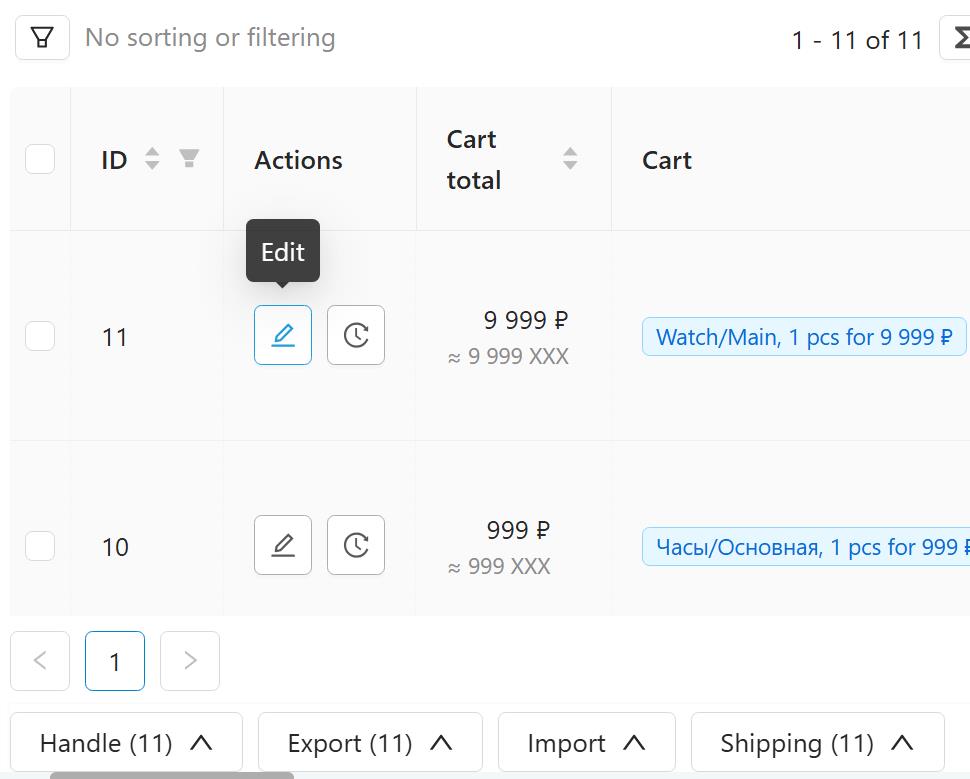
You can find orders in Work mode - Orders
A table with orders will open. At this page, you can add a new order (via the “+” button in the lower right corner of the page) or edit any order (via the pencil sign)
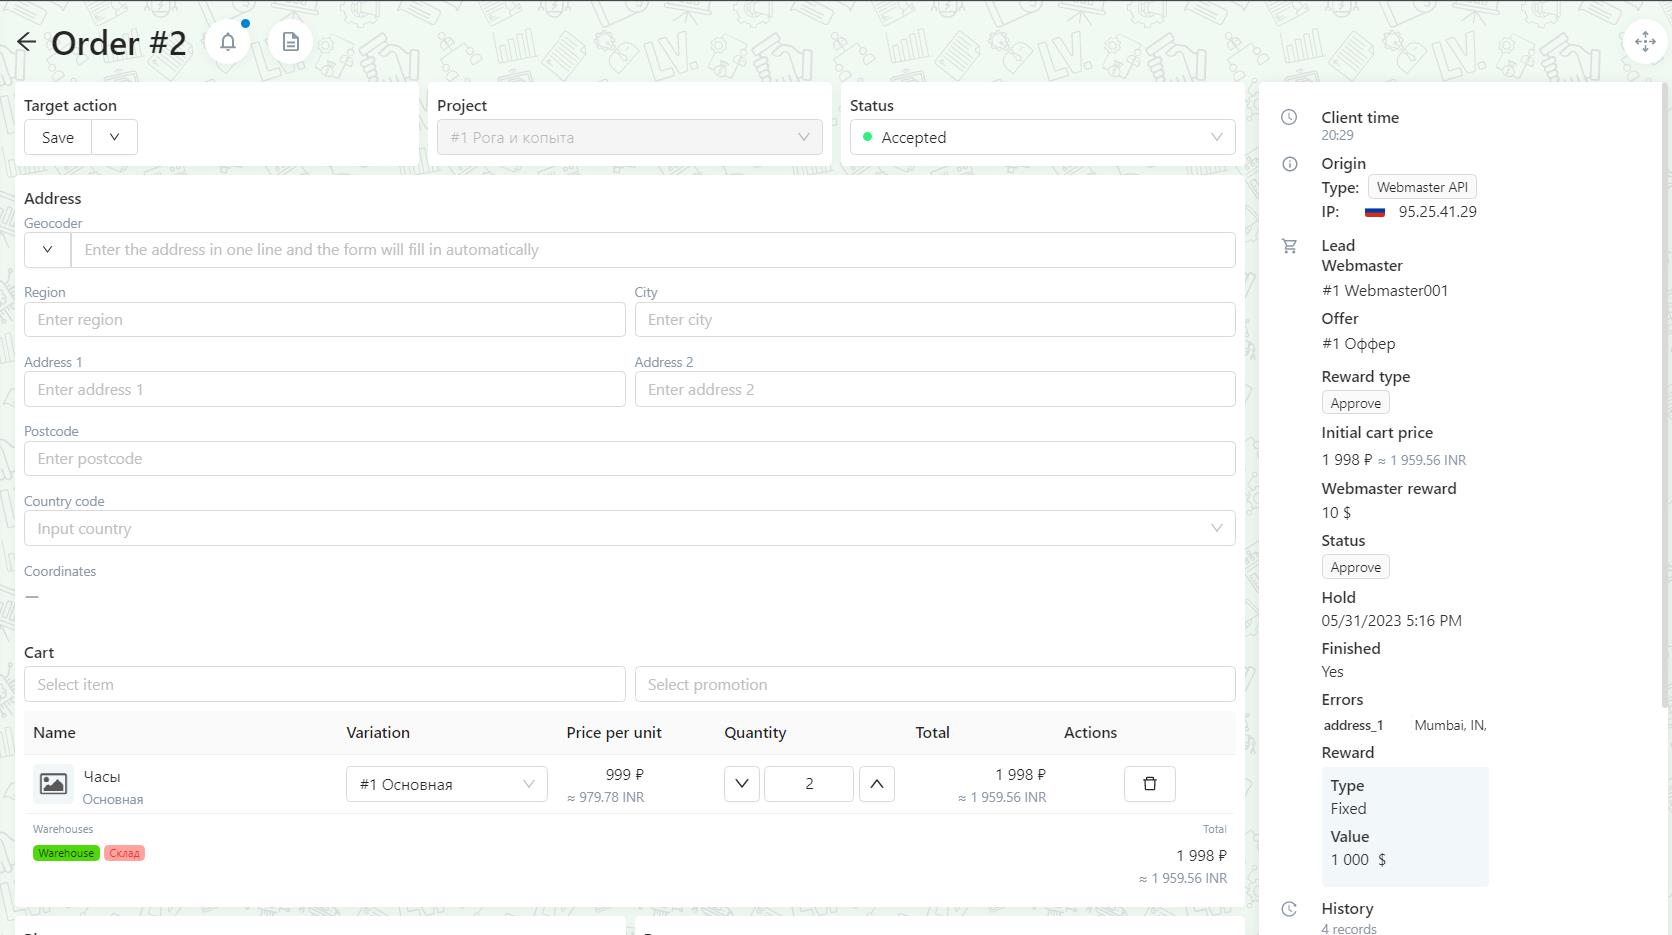
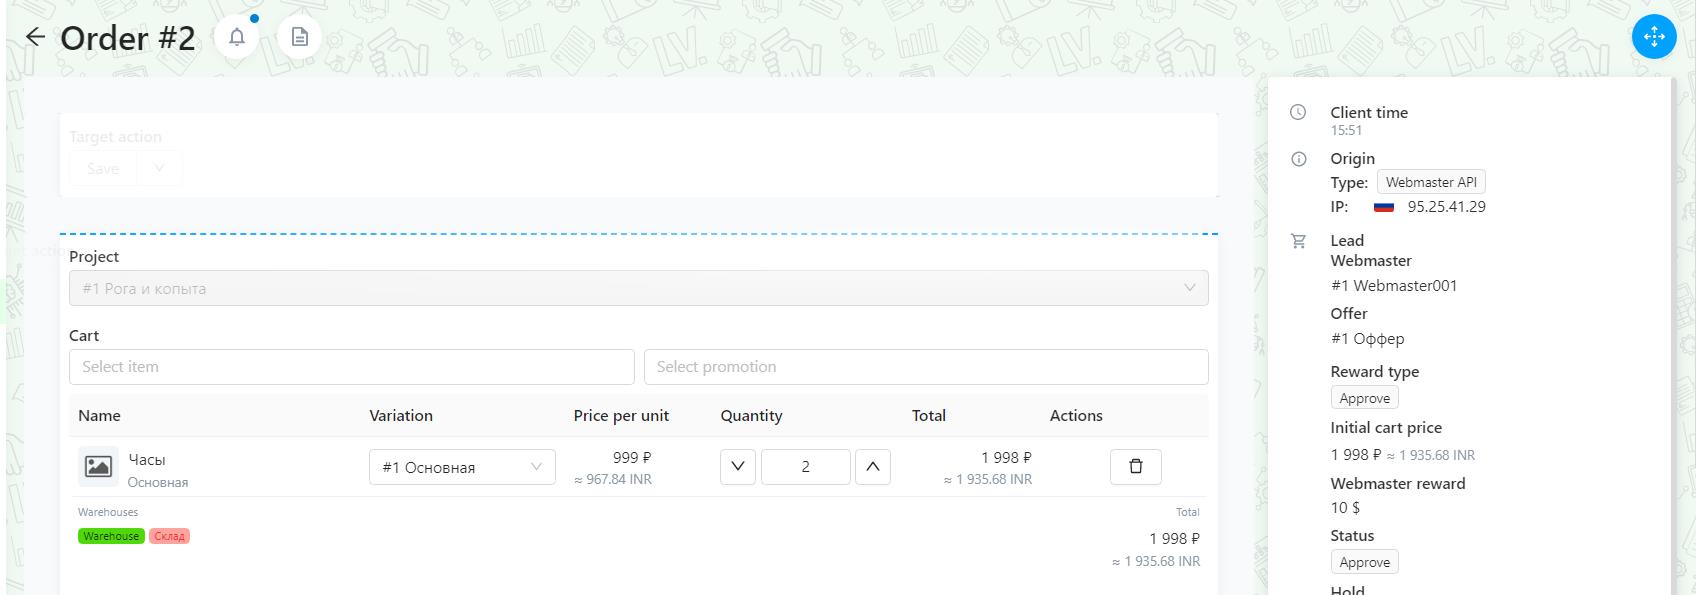
This is how order card looks like:
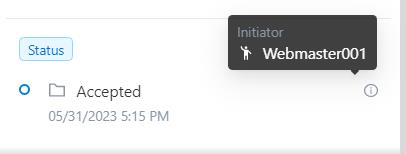
Let's check everything that is on it. At the screenshot below, the order ID and two icons.

The button with bell icon opens reminder
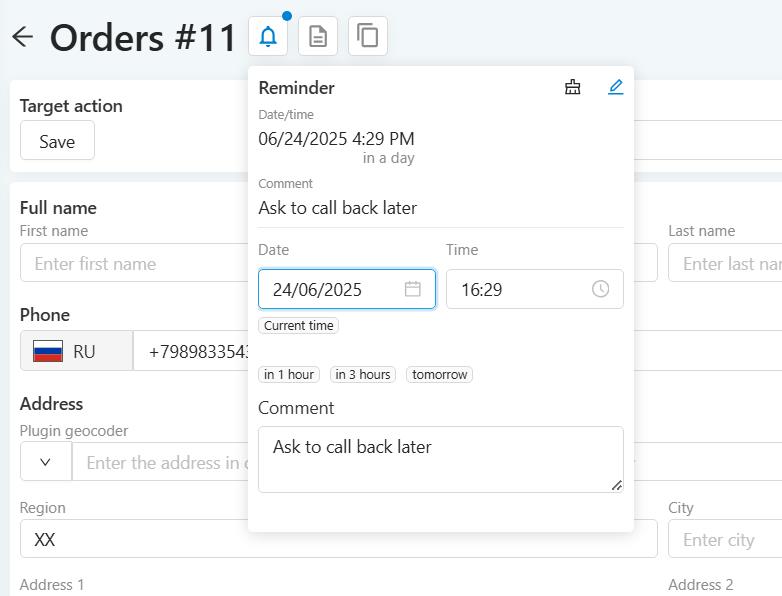
The reminder is set by order with a separate comment. By reminder time, you can set up automatic triggering (for example, if you need to send SMS to a client), or move orders to a separate status for work.
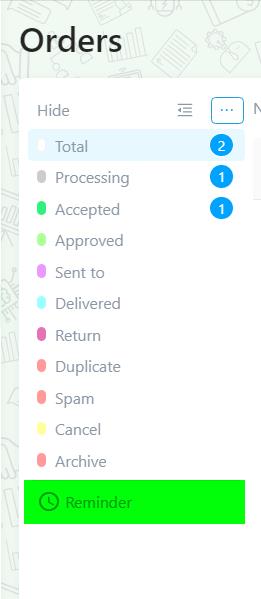
You can also work with reminders manually, the Reminder item can be seen under statuses
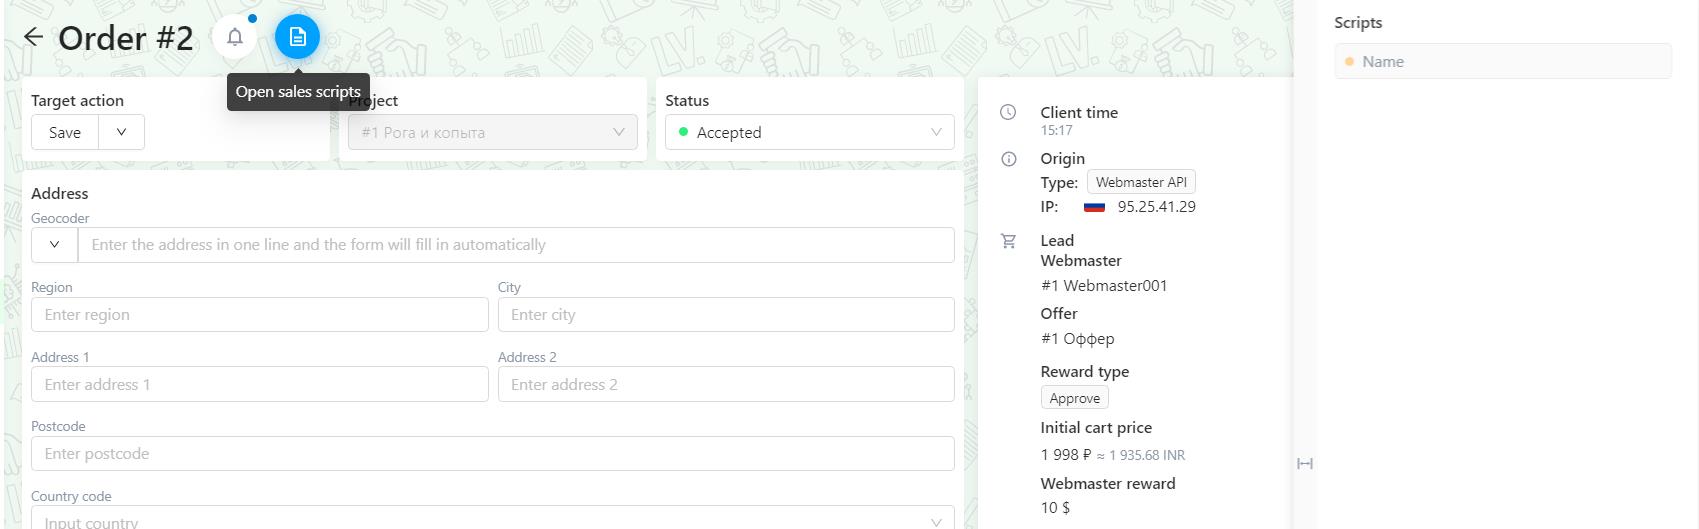
The next icon is opens Sales Scripts. By clicking on this button, a block with a script appears on the right. There is a separate knowledge base section on how to create scripts.
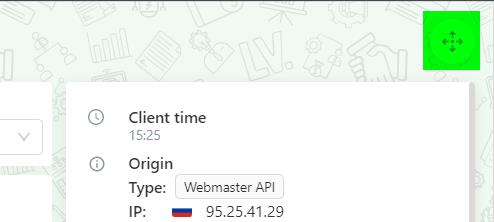
In the upper right corner there is "Move" button. When you click on it the block moving mode will turn on, so you can drag any field or the entire block by holding the mouse button. After setting, you need to press the button again to make the movement inactive.
By default there are always three blocks under the order ID, but they can also be moved.

Blocks:
Target action - initially there is only the “Save” option, but if you add target actions, all options will be displayed
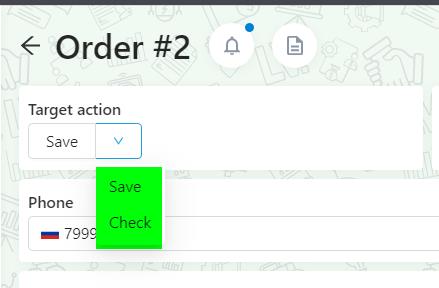
First, you need to create a target action (there is a separate section of the knowledge base about this), after the target action will appear in the order.
Target actions have important fields. They draw attention to themselves by highlighting the fields in a different color, and do not allow the order to be saved until the user changes the field or confirms that it is correct (check the box next to the field). These are not validation rules, but pays your attention on important fields.
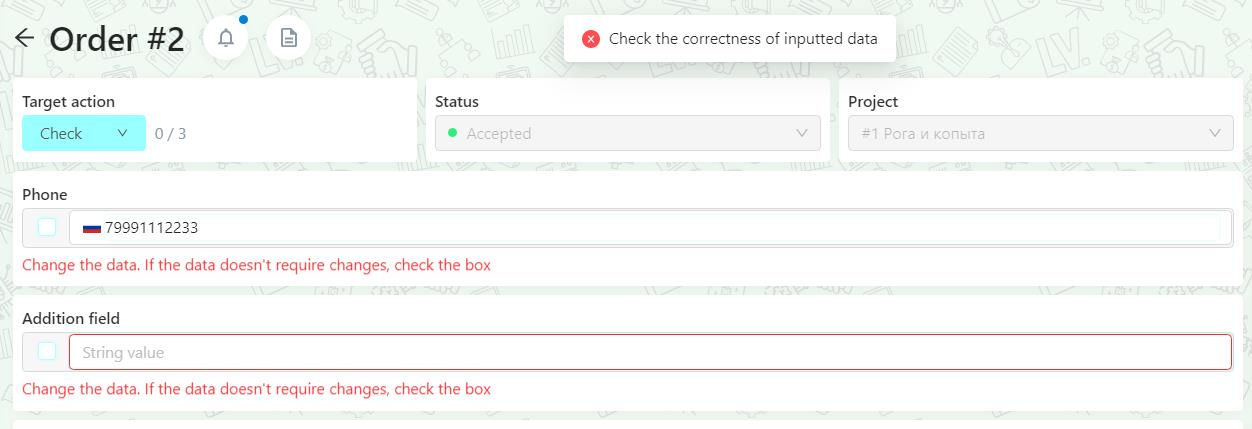
Project - is a required field for ordering. To work with orders, you must create a project.
Status - displays the current status. And you can change the status there
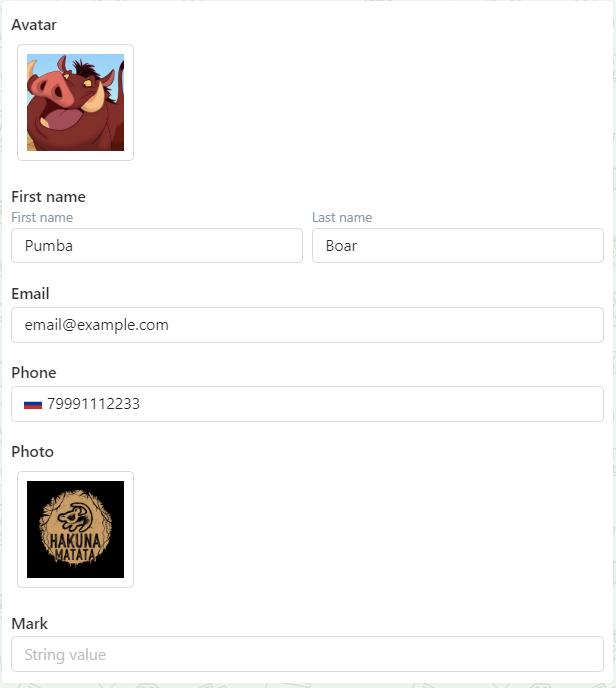
Data fields - are filled in with information in dependance on what type they have. If the field type is “First name / last name”, then two separate fields appear in the order, where the first and last names of a client need to be specified.
On the right side of the order card you can see blocks with information about a client, as well as the possibility to contact him.
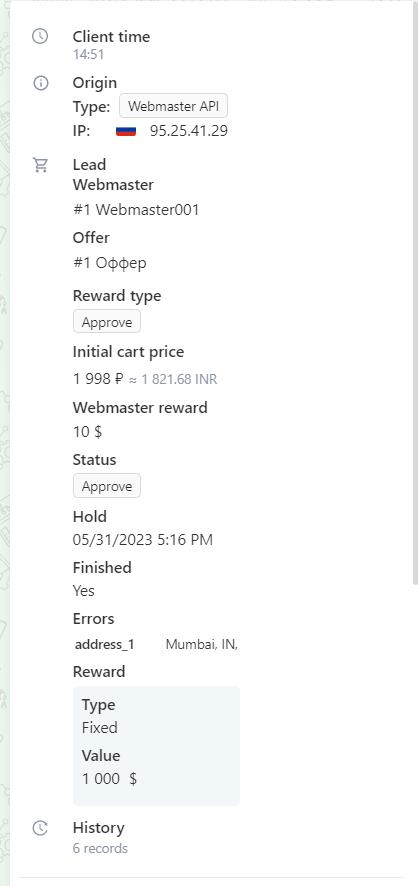
Client time - shows the current time of the client according to his time zone.
Origin:
- type - shows the source of order
- ip - shows ip address
Lead - information about the lead, if you work with the CPA module: contains information about the publisher, offer, reward method, hold, lead status
Doubles - shows the number of duplicates
History - the number of records in the history of changes in this order is indicated, and when you click on the number of records, the “History” page will open, where there will be all records of changes in this order.
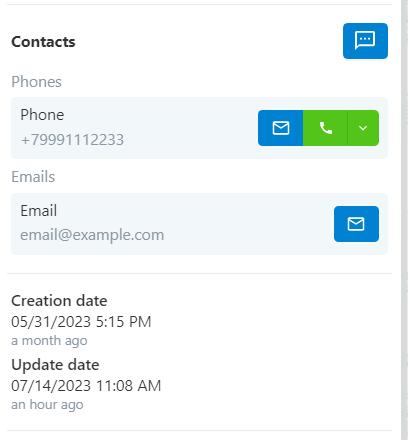
Contacts - fields containing contact information from the order. From here you can call the client or contact him through the chat plugin (click on the envelope icon). You can hide the data in these fields, but leave the ability to make calls or messages by granting such access to your employees.
The main dates from the order are listed below (when it was created or updated), as well as milestones are displayed (these are main changes in the order so that you can see what happened to the order). In milestones, you can turn off those events that you are not interested in. For example, you want to see only changes related to logistics.