All tables of SalesRender interface have the same structure and tools for working with data: filtering; sorting; the number of lines displayed on the page; column order.
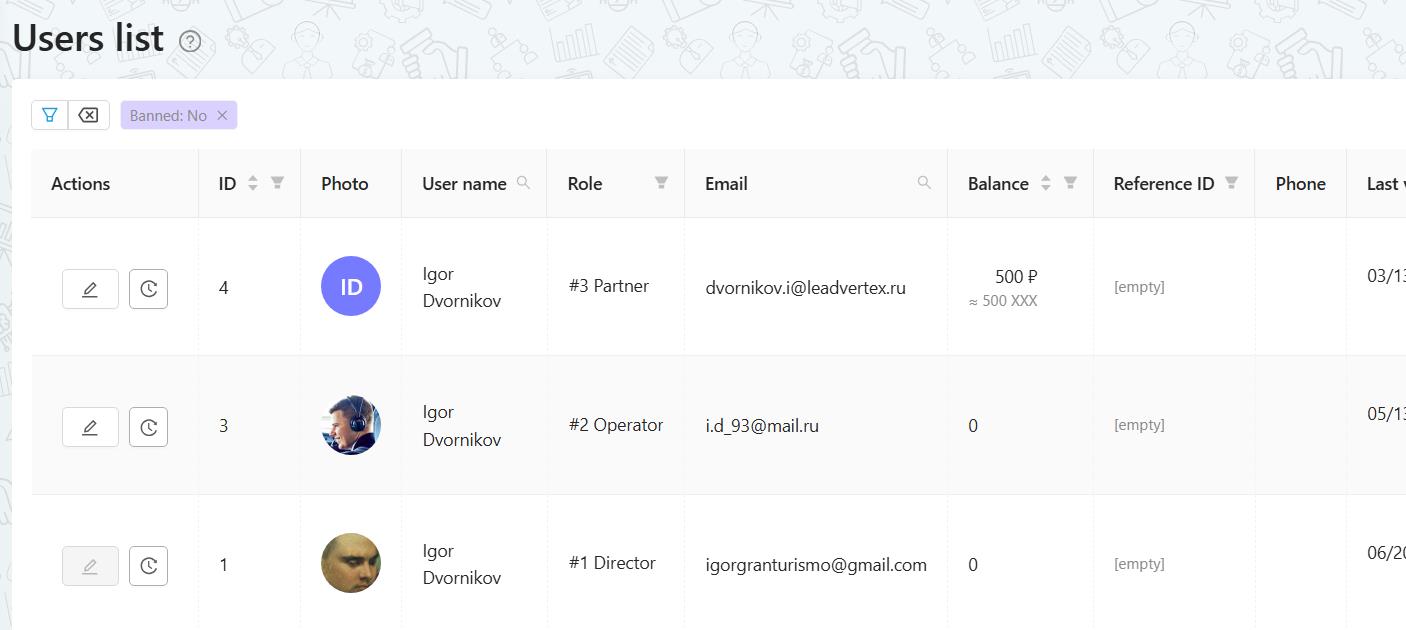
This is how standard table looks like
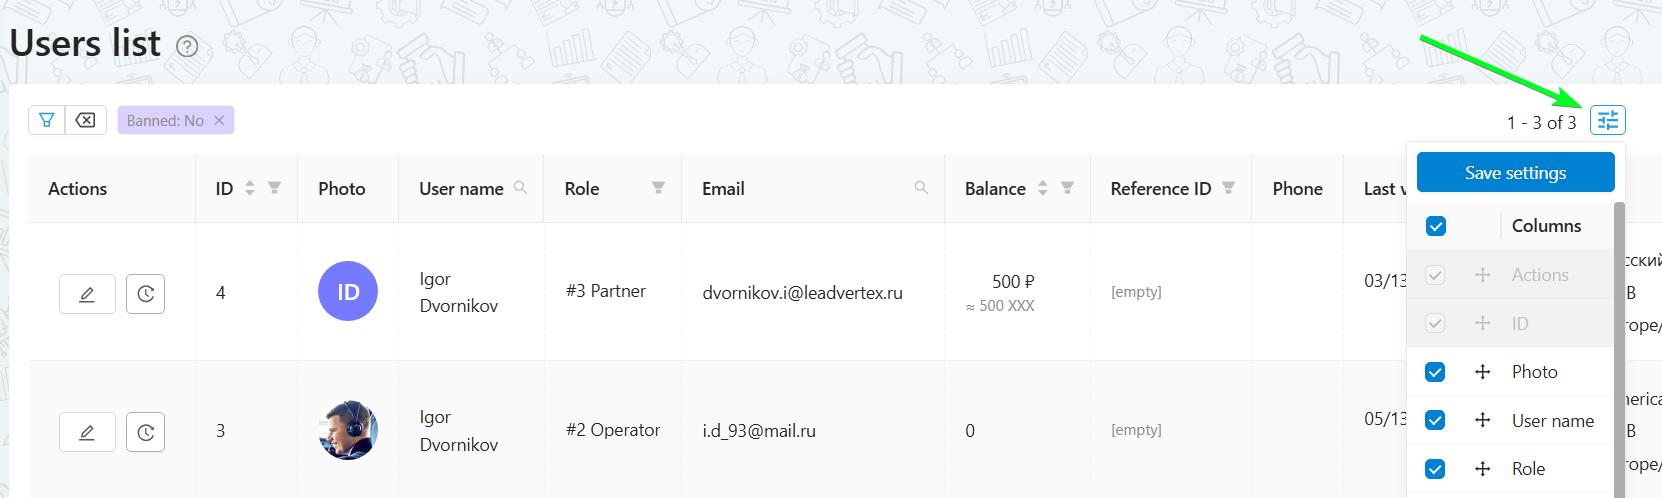
Above the table in the right corner there will be a gear icon. Here you can change the column layout or disable any columns. You can save the settings for yourself or for all users in the company.
The table headers have several icons.
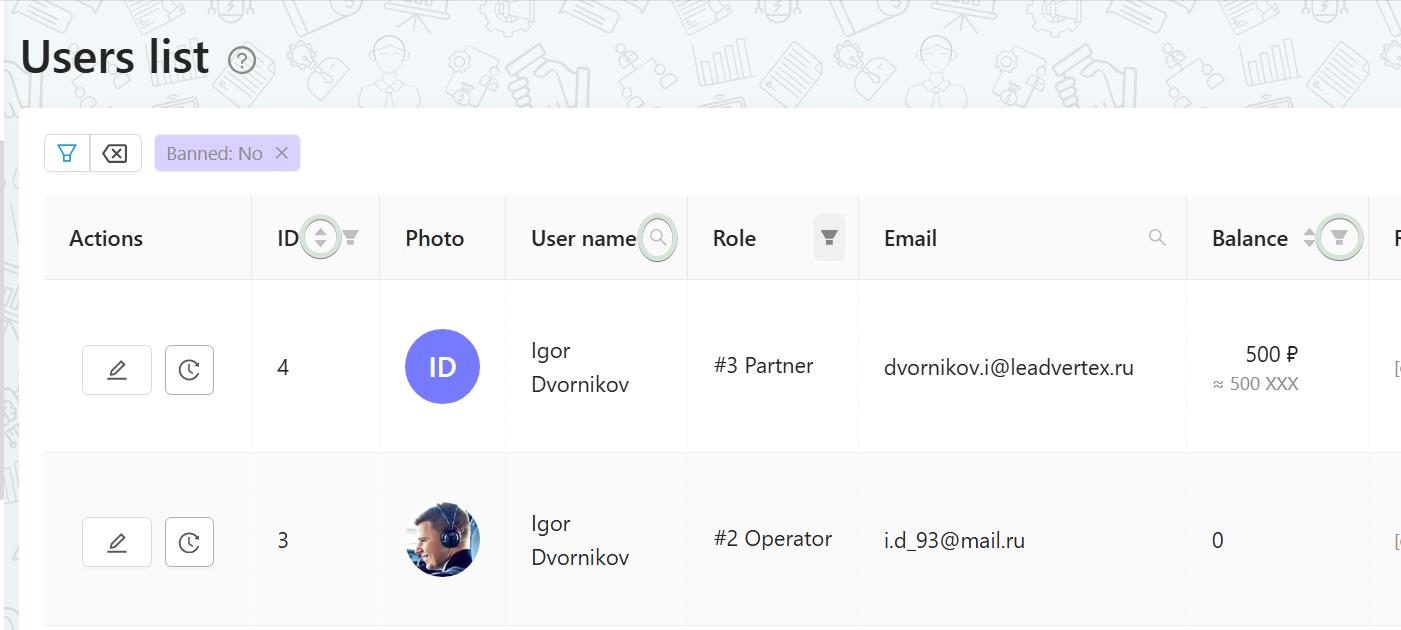
To sort in any order, click the arrow icons. Not all columns have them, but only those in which data can be sorted.
The magnifying glass icon allows you to search for the entered data. The search window has a gear icon where you can select search options (search by empty values, apply filters “include” and “exclude”). Filter "Exclude" and "Include" can be used at the same time. That is, in “Exclude” we can write value1, and in “Include” value2 and the search will keep these two filters.
There is also a filter icon, this is an advanced search. Depending on the type of data, a drop-down list will open, where you can mark which fields with which values to search for, or which range of numbers to display (for example, for the “Balance” column), or fields with search by date.
If a filter or sort has been applied to a column, the icon turns blue for convenience, and all filters and sorts applied to the data are visible above the table.
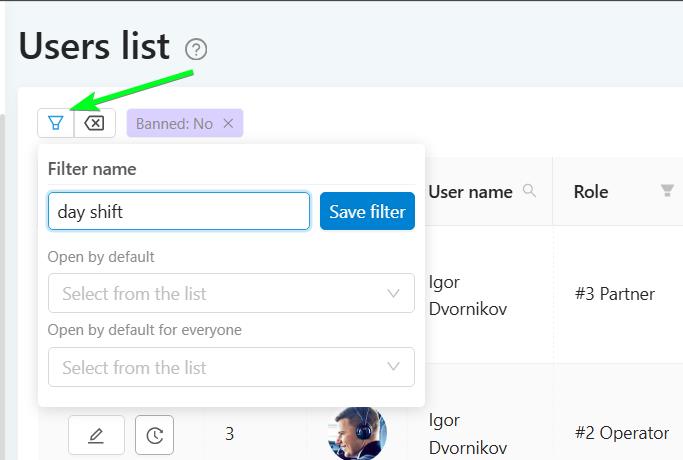
Any filters you set can be saved for future use by giving the template a name.
Any filters you have set can be saved for future use by clicking on the floppy disk icon.

You can save filters both for yourself personally and for all users. After saving, they will be stored above the table on the right and divided into personal and common. There also will appear settings in which you can select which filter should be open by default.
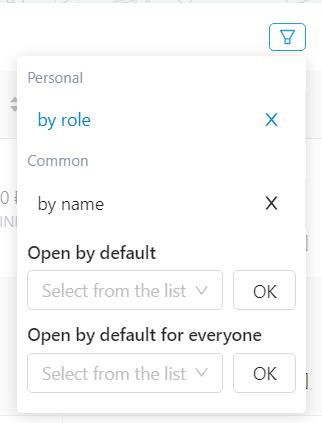
Open by default - the filter is selected for your account only. Has priority on "Open by default for everyone".
Open by default for everyone - the selected filter will be open for all users, regardless of role. Will not open if only the user has their own default filter selected.
All tables have an Actions column with two options: Edit and History. By clicking on the history, the history of all actions in the admin panel will open, with a specific filter set. For example, if the click on the story was from a table with users, then the filter will work on the “User” type, and if it was from a table with roles, then the filter will work entirely on the “Role” type.